Place depots on the floor plan
These steps show you how to place depots (registration points) on a floor plan. You then tick them off on every visit. For the Admin, Office, or Field staff role.
Before you start
Section titled “Before you start”- A location with an uploaded floor plan.
- The Admin, Office, or Field staff role.
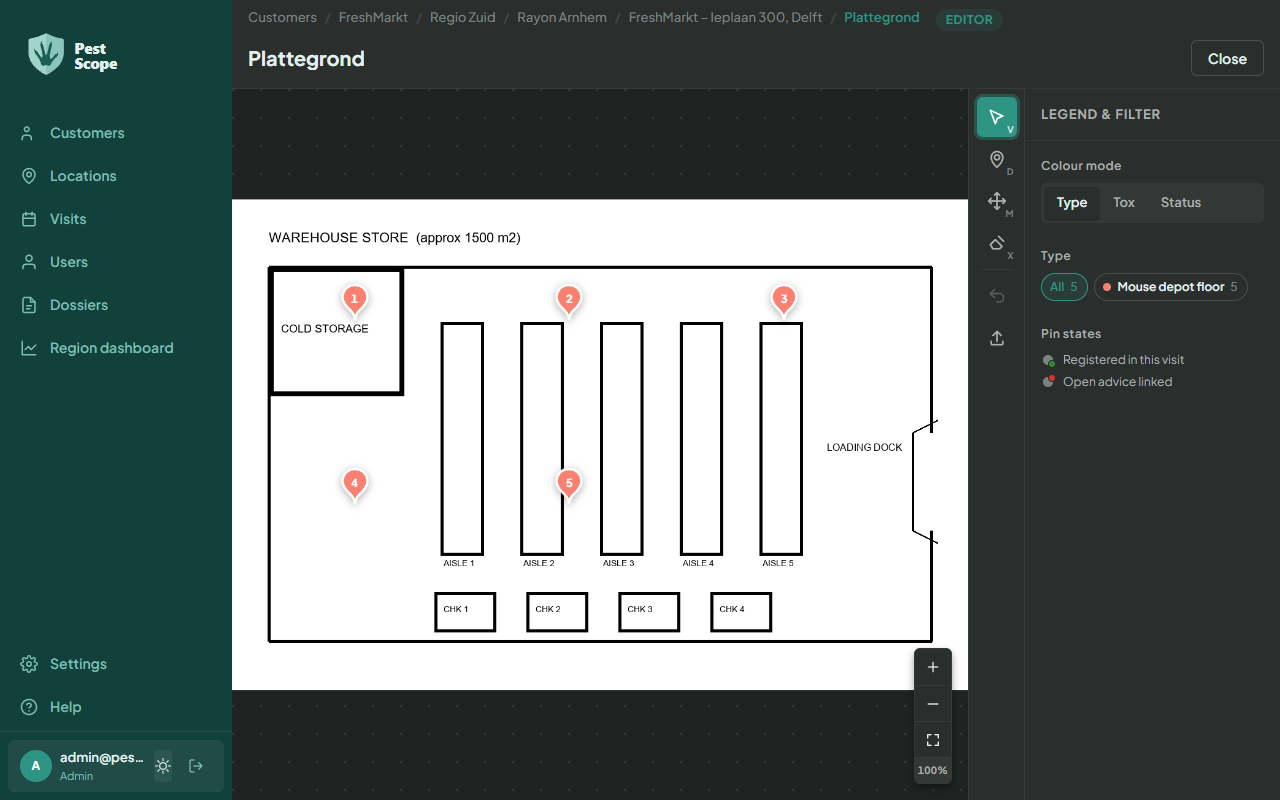
- Open the location, go to the Floor Plans tab, and choose Edit on the floor plan. The editor opens with the drawing tools on the left.
- Choose the Place depot tool and set the Type and Bait in the Place depot window.
- Tap each spot on the floor plan where a depot is located. Each depot is automatically given a number.
- Use Move to drag a depot and Erase to remove one. Use Undo to reverse your last action.

Result
Section titled “Result”The depots appear as numbered pins on the floor plan. They are immediately available for the next visit at this location.